Rice Krispies Treats
Highlighted under: Sweet Snacks
I absolutely love making Rice Krispies Treats because they evoke fond memories of my childhood. The combination of gooey marshmallows and crispy cereal creates a delightful balance of textures and flavors that’s hard to resist. I’ve perfected my technique over the years, ensuring that every bite is both chewy and crispy. Plus, they are incredibly easy to whip up, making them perfect for last-minute treats for friends or family gatherings. I can hardly keep the batch around for more than a day before they disappear!
Making Rice Krispies Treats has become a cherished tradition in my home. Each time, I enjoy experimenting with different variations, from adding sprinkles for a festive touch to incorporating peanut butter for extra richness. I've learned that using fresh marshmallows is key to achieving the perfect gooey consistency while combining them with the cereal.
The method works beautifully by ensuring you cook the marshmallows just enough to melt but not too much that they harden when cooled. I've found that greasing your hands lightly when pressing the treats into the pan gives a smooth finish, making them easier to cut later on.
Why You'll Love These Rice Krispies Treats
- Quick and easy to make, perfect for any occasion
- A delightful combination of crispy and chewy textures
- Customizable with mix-ins like chocolate chips or nuts
Perfecting the Texture
Achieving the right balance between chewy and crispy is crucial for the perfect Rice Krispies Treats. When melting the butter and marshmallows, ensure you do so over low heat. This prevents the mixture from becoming too hot and sticky. You want the marshmallows to melt just until they become glossy and smooth; don’t rush this step as overheating can cause the treats to harden after cooling.
When combining the Rice Krispies with the melted marshmallow mixture, be gentle yet thorough. Use a large spatula to fold the cereal in, which helps avoid crushing the Rice Krispies. The aim is to coat each piece without turning them into dust. If you notice clumps forming, require a bit more mixing to ensure an even distribution, leading to every bite maintaining that beautiful mix of textures.
Storage and Freshness
For optimal freshness, store your Rice Krispies Treats in an airtight container at room temperature. They can last for about 3-5 days, although they are best enjoyed within the first couple of days when still soft and chewy. If your treats begin to harden, a quick fix is to warm them slightly in the microwave for about 5-10 seconds, which will restore some of their gooey texture.
If you want to make-ahead, you can prepare the treats and cut them into squares, then wrap each piece individually in plastic wrap. This not only helps maintain their moisture but also makes them easy to grab as a quick snack later. For longer storage, you can freeze the squares in a freezer-safe container for up to 2 months; just thaw them at room temperature before serving.
Creative Variations
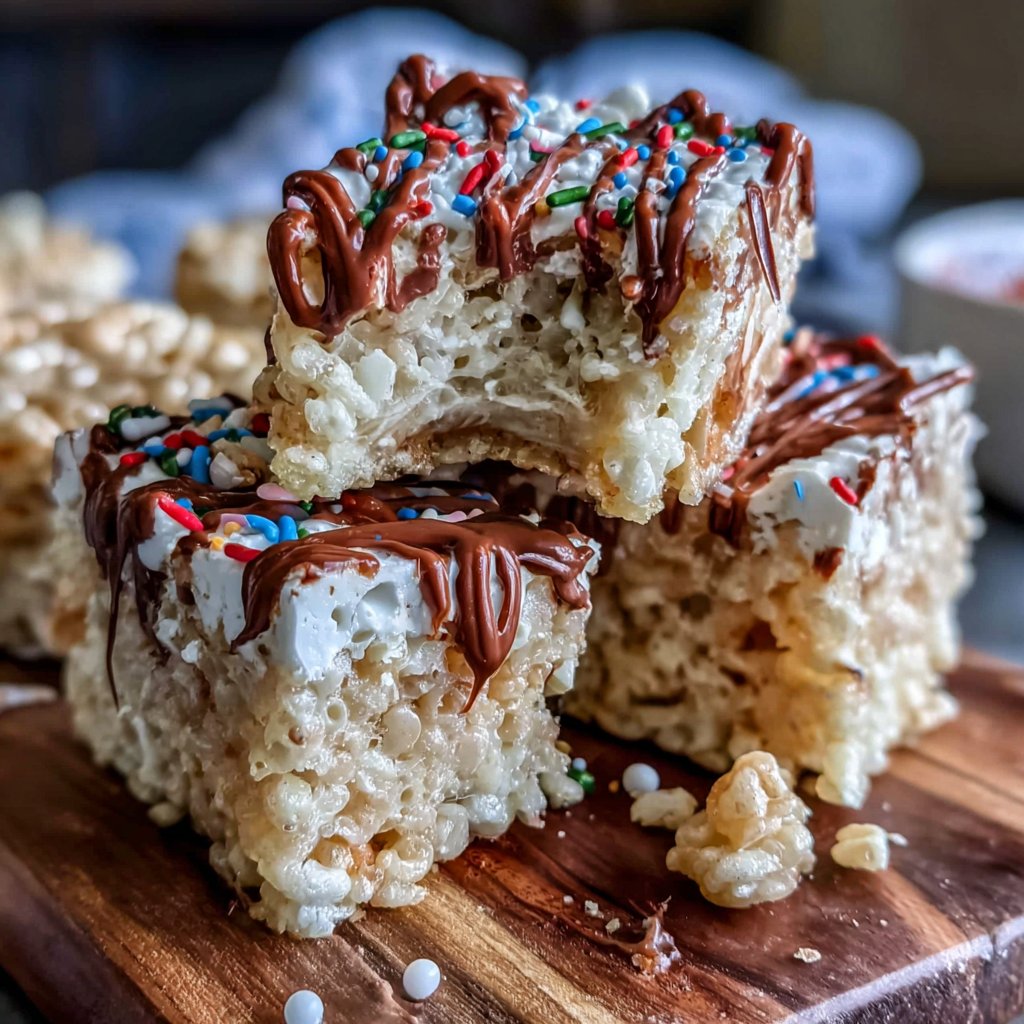
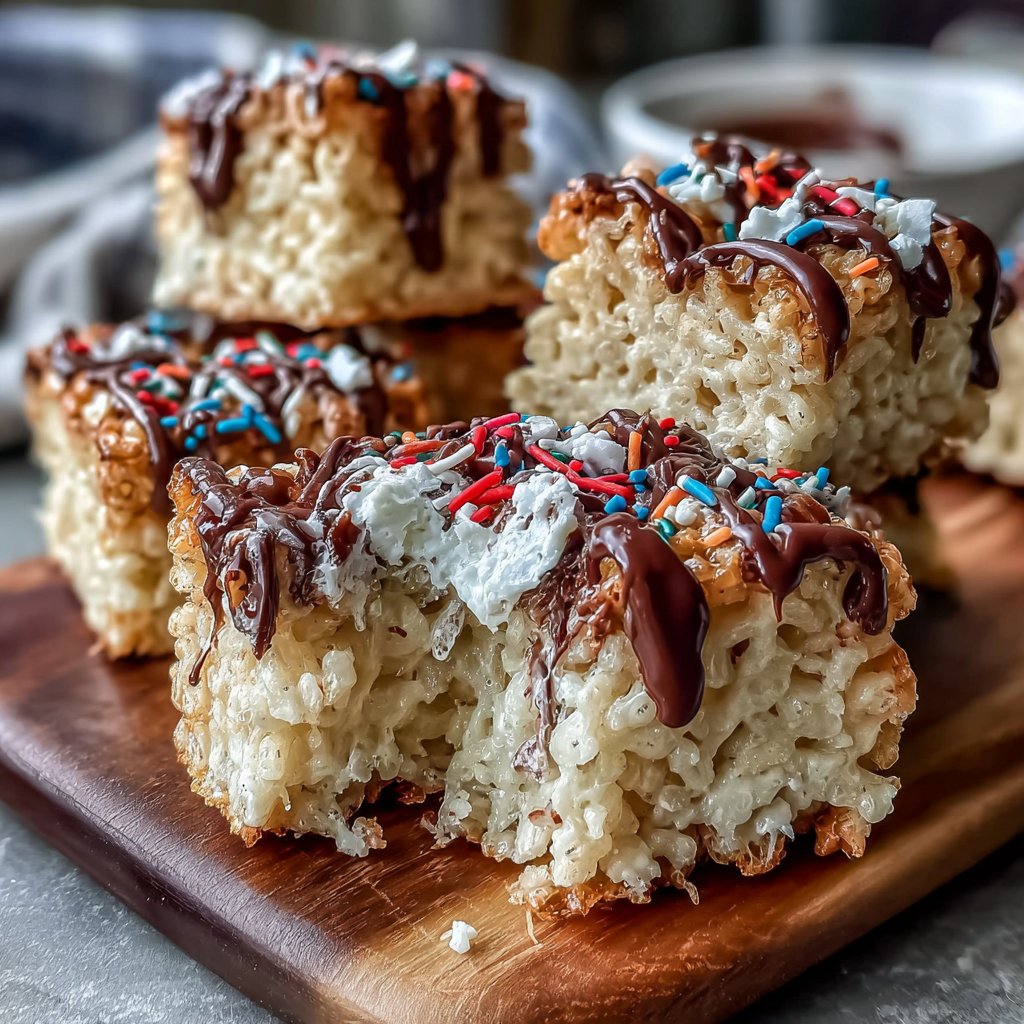
While the classic Rice Krispies Treats are delicious on their own, you can easily customize them to suit your taste. Consider adding mix-ins such as mini chocolate chips, peanut butter, or chopped nuts. If you’re feeling adventurous, drizzling melted chocolate over the top can take your treats to the next level. Just be sure to let the chocolate harden before cutting into squares for a clean presentation.
For a touch of flavor, try adding a teaspoon of flavored extract, like almond or coconut, to the marshmallow mixture. This little twist can elevate your treats significantly, giving them a unique character. If you're serving kids, you might also try using themed sprinkles for fun decorations—it's a great way to engagement them in the kitchen!
Ingredients
Gather these simple ingredients to create your Rice Krispies Treats:
Ingredients
- 6 cups Rice Krispies cereal
- 4 cups mini marshmallows
- 3 tablespoons butter
- 1 teaspoon vanilla extract
- Pinch of salt
Make sure to have everything prepped before you start, as the mixture can set quickly!
Instructions
Follow these easy steps to make your Rice Krispies Treats:
Melt the Butter and Marshmallows
In a large saucepan, melt the butter over low heat. Once melted, add the mini marshmallows and stir continuously until completely melted and smooth. Remove from heat and add in the vanilla extract and a pinch of salt.
Combine with Rice Krispies
Immediately add the Rice Krispies cereal to the melted marshmallow mixture. Stir thoroughly until the cereal is evenly coated.
Press into the Pan
Transfer the mixture to a greased 9x13-inch baking dish. With lightly greased hands or a spatula, press the mixture firmly and evenly into the dish.
Cool and Cut
Allow the treats to cool for about 30 minutes at room temperature. Once set, cut into squares and serve!
These treats are best enjoyed fresh, but you can store leftovers in an airtight container.
Pro Tips
- For an extra layer of flavor, consider drizzling melted chocolate over the top before cutting. Experiment with different cereals or add-ins like nuts or dried fruit for a unique twist!
Troubleshooting Tips
If your treats are hard and difficult to chew, it likely means the marshmallows were overheated during melting. Next time, melt them slowly over low heat and stir continuously until uniformly melted. You can also incorporate a little more butter next time to offset this effect if you’re still facing issues.
On the other hand, if your mixture seems too sticky to manage, try lightly greasing your hands or spatula to help press and shape the treats. If all else fails, a sprinkle of powdered sugar or extra cereal can help absorb excess stickiness and create a manageable consistency.
Scaling the Recipe
If you're looking to make a larger batch for a gathering, it's easy to scale up this recipe. For a 12-cup cereal version, simply double the quantities of the ingredients accordingly. Remember to use a larger baking dish to accommodate the increased volume; a 12x18-inch pan works great for this amount.
Conversely, if you need a smaller batch, simply halve the quantities. A smaller 7x11-inch dish works nicely for this scaled-down version. Keep an eye on the cooling time; it may slightly decrease with smaller batches, so check for set edges after about 20 minutes instead of the full 30.
Questions About Recipes
→ Can I use regular marshmallows instead of mini?
Yes, you can, but you'll need to use about 10-12 regular marshmallows to equal 4 cups of mini marshmallows.
→ How do I store Rice Krispies Treats?
Store them in an airtight container at room temperature for up to 3 days for maximum freshness.
→ Can I freeze Rice Krispies Treats?
Yes, you can freeze them! Wrap individual squares tightly in plastic wrap and store in a freezer bag for up to 3 months.
→ What can I add to make these treats more exciting?
You can add chocolate chips, peanut butter, or even incorporate sprinkles and candies for a festive look!
Rice Krispies Treats
Created by: The Spoonandpan Team
Recipe Type: Sweet Snacks
Skill Level: Easy
Final Quantity: 12 servings
What You'll Need
Ingredients
- 6 cups Rice Krispies cereal
- 4 cups mini marshmallows
- 3 tablespoons butter
- 1 teaspoon vanilla extract
- Pinch of salt
How-To Steps
In a large saucepan, melt the butter over low heat. Once melted, add the mini marshmallows and stir continuously until completely melted and smooth. Remove from heat and add in the vanilla extract and a pinch of salt.
Immediately add the Rice Krispies cereal to the melted marshmallow mixture. Stir thoroughly until the cereal is evenly coated.
Transfer the mixture to a greased 9x13-inch baking dish. With lightly greased hands or a spatula, press the mixture firmly and evenly into the dish.
Allow the treats to cool for about 30 minutes at room temperature. Once set, cut into squares and serve!
Extra Tips
- For an extra layer of flavor, consider drizzling melted chocolate over the top before cutting. Experiment with different cereals or add-ins like nuts or dried fruit for a unique twist!
Nutritional Breakdown (Per Serving)
- Calories: 160 kcal
- Total Fat: 6g
- Saturated Fat: 4g
- Cholesterol: 15mg
- Sodium: 50mg
- Total Carbohydrates: 26g
- Dietary Fiber: 0g
- Sugars: 12g
- Protein: 1g