Festive Spiced Pumpkin Pie
Highlighted under: Summer Drinks | Cool Sips
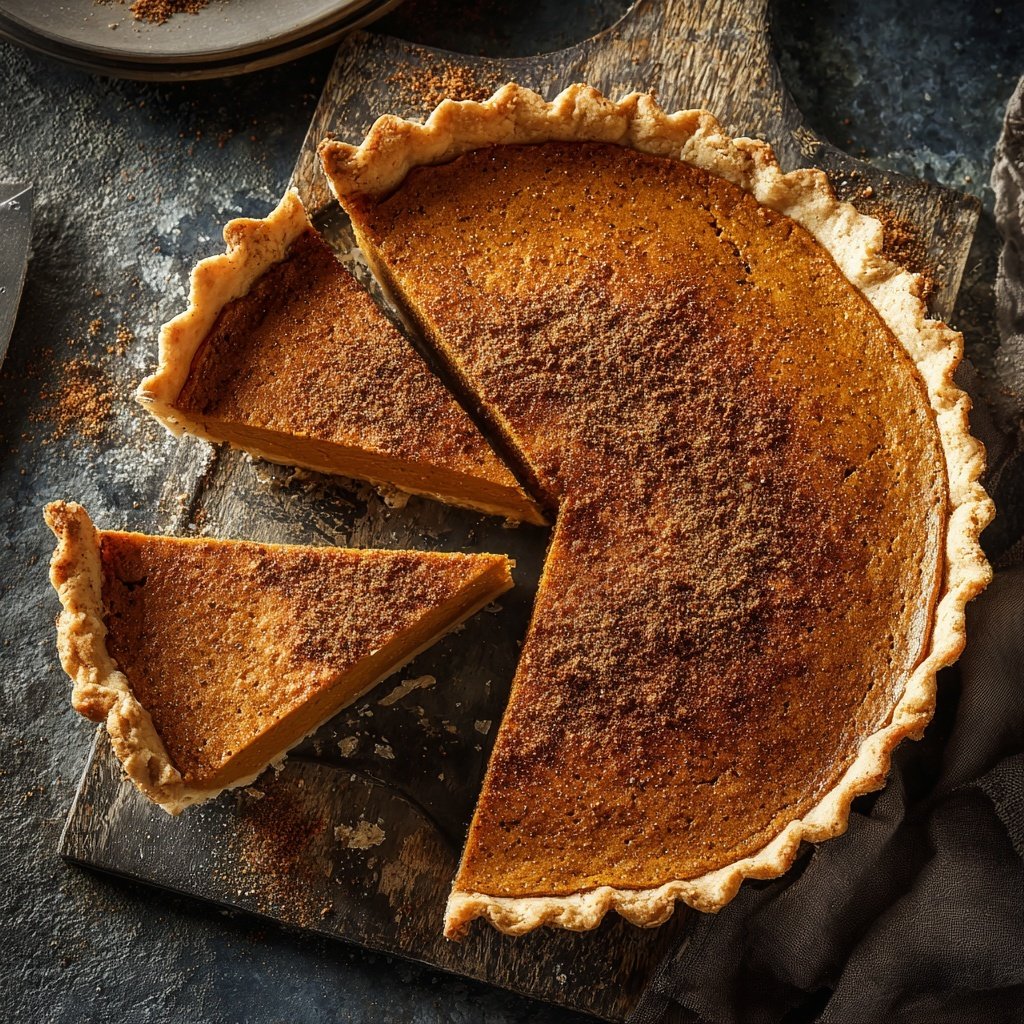
I absolutely love making this Festive Spiced Pumpkin Pie during the autumn season. The combination of warm spices and creamy pumpkin filling brings me back to family gatherings around the holidays. Each bite is like a warm hug, and the aroma that fills my kitchen while it's baking is simply irresistible. This pie not only looks beautiful but also tastes fantastic, making it the perfect centerpiece for any festive table. It’s a cozy dessert that appeals to everyone, and it always disappears so quickly!
When I first attempted this recipe, I was surprised by how simple it was to create such a delicious dessert. The blend of cinnamon, nutmeg, and ginger elevates the classic pumpkin filling to a whole new level. Baking it slowly ensures the flavors meld beautifully, creating a rich and inviting pie that’s perfect for any occasion.
One tip I've found helpful is to chill the pie crust before filling it. This helps the crust hold its shape during baking and provides that perfectly flaky texture we all love. I always make sure to add a dollop of whipped cream on top for added decadence!
Why You Will Love This Recipe
- Deliciously spiced, warming flavors that evoke the essence of fall
- Rich, creamy texture that melts in your mouth
- Perfect for holiday gatherings or cozy family dinners
The Importance of Pumpkin Puree
Using pure pumpkin puree is crucial for achieving the right texture and flavor in this Festive Spiced Pumpkin Pie. Unlike pumpkin pie filling, which is pre-sweetened and spiced, pure pumpkin lets you control the sweetness and spice levels. Look for pumpkin that’s labeled '100% pumpkin' with no additives; this ensures a creamy, rich filling that bakes to perfection. If you're feeling adventurous, you can even roast your pumpkin at home for a fresh taste. Just remember to strain out excess moisture for the best results.
While canned pumpkin is a convenient choice, fresh pumpkin can elevate your pie. To prepare fresh pumpkin, cut it in half, scoop out the seeds, and roast it at 350°F (175°C) for about 45 minutes to an hour, until tender. Once cooled, scoop out the flesh and blend until smooth. This homemade puree can add a deeper flavor profile to your pie, making it even more memorable for your holiday gatherings.
Mastering the Pie Crust
The pie crust in this recipe serves as the sturdy foundation for the filling, contributing a delightful crunch. For a flaky crust that holds up during baking, be sure to handle the dough minimally. After combining the ingredients, roll the dough just enough to fit into your pie dish. If you find your crust is too soft to handle, refrigerate it for an additional 15-20 minutes before rolling out. This helps to firm it up, making it easier to fit into the dish without tearing.
A well-baked crust is golden brown and crisp, contrasting beautifully with the creamy filling. To prevent a soggy bottom, consider blind-baking the crust for 10-15 minutes before adding the filling. Line the crust with parchment paper and fill it with pie weights or dried beans while baking. This technique ensures that the crust maintains its shape and achieves that desired flaky texture without becoming overly moist from the filling.
Serving Suggestions and Variations
This Festive Spiced Pumpkin Pie is delightful on its own, but serving it with whipped cream or vanilla ice cream can take it to the next level. For a fun twist, infuse your whipped cream with flavors like maple or bourbon to deepen the taste. A sprinkle of cinnamon or nutmeg on top adds a decorative touch and enhances the pie’s aroma. You might also experiment with serving it alongside a spiced chai or a rich hot cocoa to provide a warm beverage pairing.
If you're entertaining a crowd, consider making mini pumpkin pies in a muffin tin. Simply roll out the dough and cut it to fit the wells. Bake them for 10-15 minutes at 350°F (175°C) and fill each with the same pumpkin mixture. These bite-sized treats are perfect for parties and make enjoying dessert even more accessible. Plus, they can be prepared a day in advance and stored in the fridge, saving you time on the day of your celebration.
Ingredients
Gather the following ingredients to make this delightful pie:
Pie Crust
- 1 9-inch pie crust (homemade or store-bought)
- 2 tablespoons sugar
- 1/4 teaspoon salt
- 1/4 cup cold butter, cut into small cubes
Filling
- 2 cups pure pumpkin puree
- 1 cup sweetened condensed milk
- 2 large eggs
- 1 teaspoon vanilla extract
- 1 teaspoon ground cinnamon
- 1/2 teaspoon ground nutmeg
- 1/2 teaspoon ground ginger
- 1/4 teaspoon ground cloves
- 1/2 teaspoon salt
- 1/2 cup brown sugar
Ensure all ingredients are fresh for the best results!

Instructions
Follow these steps to create your perfect pumpkin pie:
Prepare the Crust
In a mixing bowl, combine the flour, sugar, and salt. Cut in the cold butter until the mixture resembles coarse crumbs. Add ice water, 1 tablespoon at a time, until the dough forms. Roll out the crust and fit it into a 9-inch pie dish. Freeze for 15 minutes.
Make the Filling
In a large bowl, whisk together the pumpkin puree, sweetened condensed milk, eggs, vanilla, spices, salt, and brown sugar until smooth.
Combine and Bake
Preheat the oven to 425°F (220°C). Pour the filling into the prepared crust. Bake for 15 minutes, then lower the temperature to 350°F (175°C) and bake for an additional 45 minutes or until the filling is set.
Cool and Serve
Allow the pie to cool for at least 2 hours before serving. It tastes wonderful chilled or at room temperature. Top with whipped cream if desired.
Enjoy your homemade festive pie!
Pro Tips
- For the best flavor, use fresh spices instead of pre-ground ones. They will make a noticeable difference in the aroma and taste of your pie.
Tips for Perfect Baking
Baking a pumpkin pie is all about the texture of the filling. You want it to be set but not overcooked, as that can lead to a dry, cracked surface. Check for doneness by wiggling the pie gently; the center should have a slight jiggle but not be liquid. It’s wise to begin monitoring the pie after 40 minutes in the oven, as ovens can vary greatly. If the crust edges seem to browning too quickly, shield them with aluminum foil to prevent burning while the filling continues to bake.
Cooling the pie properly is just as important as baking it. Allow the pie to cool for at least 2 hours at room temperature before slicing, as this helps the filling to firm up and makes for cleaner slices. If serving later, you can refrigerate the pie, but be sure to cover it with plastic wrap to avoid drying out. The flavors meld beautifully after chilling, making it a delicious option for next-day serving.
Ingredient Substitutions
If you're looking to lighten up the recipe, you can substitute the sweetened condensed milk with coconut milk or a low-fat evaporated milk for a similar creamy result with a different flavor profile. Keep in mind that these substitutions may alter the final taste slightly but can work well for those watching their sugar intake.
For those with dietary restrictions, you can easily make this pie gluten-free by substituting the pie crust with a gluten-free option available at most grocery stores. Alternatively, explore almond flour or oat flour-based crusts for a homemade approach. The spices in the filling are naturally gluten-free, so there are no worries there, allowing everyone to enjoy this festive treat!
Storing Your Pie
When it comes to storing leftover pie, keep it in the refrigerator to preserve freshness. Place the pie in an airtight container or cover it with plastic wrap. This way, you can store it for up to 4 days, enjoying a piece whenever the craving strikes. If you're planning to keep it longer, consider freezing the pie. Wrap it tightly in plastic wrap and then in aluminum foil to prevent freezer burn. It can last up to 2 months in the freezer.
To reheat, simply let the pie thaw overnight in the refrigerator and then warm it up in a 350°F (175°C) oven for about 10–15 minutes before serving. This refreshes the flavors and texture, bringing back that freshly baked goodness. Enjoy your pie warm with a dollop of whipped cream for an incredible treat that feels brand new!
Questions About Recipes
→ Can I use canned pumpkin instead of fresh?
Yes, canned pumpkin puree works perfectly and saves time. Just make sure it's 100% pure pumpkin, not pumpkin pie filling.
→ How do I store leftovers?
Store the pie in the fridge covered with plastic wrap for up to 3 days. You can also freeze it for longer storage.
→ Can I make this pie ahead of time?
Absolutely! This pie can be made a day in advance and stored in the refrigerator.
→ What can I serve with pumpkin pie?
Whipped cream, vanilla ice cream, or a sprinkle of cinnamon are great pairings!
Festive Spiced Pumpkin Pie
Created by: The Spoonandpan Team
Recipe Type: Summer Drinks | Cool Sips
Skill Level: Intermediate
Final Quantity: 8 servings
What You'll Need
Pie Crust
- 1 9-inch pie crust (homemade or store-bought)
- 2 tablespoons sugar
- 1/4 teaspoon salt
- 1/4 cup cold butter, cut into small cubes
Filling
- 2 cups pure pumpkin puree
- 1 cup sweetened condensed milk
- 2 large eggs
- 1 teaspoon vanilla extract
- 1 teaspoon ground cinnamon
- 1/2 teaspoon ground nutmeg
- 1/2 teaspoon ground ginger
- 1/4 teaspoon ground cloves
- 1/2 teaspoon salt
- 1/2 cup brown sugar
How-To Steps
In a mixing bowl, combine the flour, sugar, and salt. Cut in the cold butter until the mixture resembles coarse crumbs. Add ice water, 1 tablespoon at a time, until the dough forms. Roll out the crust and fit it into a 9-inch pie dish. Freeze for 15 minutes.
In a large bowl, whisk together the pumpkin puree, sweetened condensed milk, eggs, vanilla, spices, salt, and brown sugar until smooth.
Preheat the oven to 425°F (220°C). Pour the filling into the prepared crust. Bake for 15 minutes, then lower the temperature to 350°F (175°C) and bake for an additional 45 minutes or until the filling is set.
Allow the pie to cool for at least 2 hours before serving. It tastes wonderful chilled or at room temperature. Top with whipped cream if desired.
Extra Tips
- For the best flavor, use fresh spices instead of pre-ground ones. They will make a noticeable difference in the aroma and taste of your pie.
Nutritional Breakdown (Per Serving)
- Calories: 320 kcal
- Total Fat: 18g
- Saturated Fat: 8g
- Cholesterol: 100mg
- Sodium: 150mg
- Total Carbohydrates: 35g
- Dietary Fiber: 2g
- Sugars: 15g
- Protein: 4g